

When it comes to installing a synthetic putting green and fringe grass, it is generally recommended to hire a professional artificial grass installer. However, if you possess good DIY skills and want to tackle the project yourself, this guide will provide you with step-by-step instructions. By following these guidelines, you can successfully install a synthetic putting green in just a day or two.
Table of Contents
-
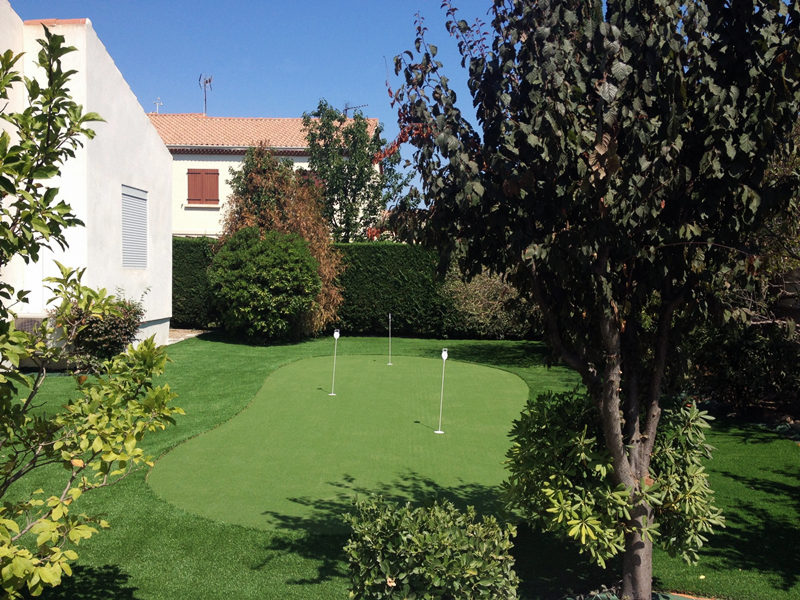
Selecting the Site and Planning the Layout:
Choose a suitable location for your putting green and determine the amount of space you want to dedicate to it. Ideally, the shape and size of the green should resemble that of a traditional putting green. However, a smaller straight green can also be effective.
-
Excavation:
Begin by marking out the area for your putting green design. Ensure that you include space for the fringe if it is part of your plan. Remove all organic materials such as sod, soil, and grass to a depth of 6 inches.
-
Base Preparation:
Replace the 6 inches of removed organic material with ¾” crushed gravel until it reaches a height of 4 inches. Use a rake and water to create the desired surface, incorporating any undulations or elevations you want in your putting green. Proper drainage is crucial, so ensure that the surface allows water to flow efficiently. Compact the gravel thoroughly using a plate compactor. Add 1/2″ to 1″ of crusher fines to achieve a smooth surface. Water the area, compact it again, and use a roller to eliminate any lines or bumps.
-
Installing Putting Green Cups:
Place the cup sleeves in their designated positions. Use a post digger to remove gravel, allowing the sleeve to sit flush with the surface. Gently compact the sleeve with a hand tamper until it is level with the final grade. Afterward, fill the surrounding area with crushed gravel, compact it with a hammer, and ensure a tight lock. Take your time to compact this area properly, as it is crucial. The cup should sit in the sleeve, with the lip approximately 1/4″ above the base.
-
Laying the Synthetic Putting Green:
Roll out the synthetic putting turf over the project area, always rolling it in the same direction. Ensure that multiple rolls overlap by 2″ to 3″. Once the turf is in place, outline your desired shape using chalk. Cut out the shape using an artificial grass carpet knife, ensuring precise cuts.
-
Seaming:
Cut the bottom piece of turf two tufts in from the factory edge. Trim the top piece as close as possible to the adjacent turf, avoiding any overlapping. It is better to have a small gap than a tight seam that compromises the surface. Place the seaming tape as centrally as possible. Roll back the turf 6″ on both sides of the seam and temporarily secure it. Apply glue evenly with a 1/8″ notched trowel. Bring the edges back together in a zipper fashion to ensure that the backing aligns properly. Take care not to get glue on the grass blades. The drying time of the glue may vary depending on humidity and climate. During this time, walk over the seam but avoid placing heavy objects on the turf.
-
Infill with Silica Sand:
Spread silica sand infill over the entire putting surface, preferably using a drop spreader. Use a broom or power sweeper to brush the sand into the turf.
-
Fringe:
Designing the fringe is a project-specific task. For the best results, it is recommended to consult with an experienced installer. They can provide guidance based on your putting green shape and fringe size.
Conclusion:
By following these step-by-step instructions, you can successfully install synthetic putting green grass and create your own personal practice area. While hiring a professional is usually recommended, those with sufficient DIY skills can achieve satisfying results by carefully following these guidelines.